SNOO
How to Set Up SNOO
A step-by-step guide for unpacking your SNOO and setting it up for use.

Written by
Happiest Baby Staff
Congratulations on your recent SNOO purchase or rental! We're so thrilled that you've chosen to have Happiest Baby with your little one. Here are detailed steps for how to unpack and setup SNOO. Let's get started!
Step 1: Unlock Clips
Unlock all 4 clips by pinching in and pulling them out. Be sure to keep the tethers attached.
![[object Object]](https://cdn.sanity.io/images/301lhh0a/production/72285904c421139974b51a7d817ea00deb7431c3-600x337.jpg?w=1200&auto=format&q=75&fit=max)
![[object Object]](https://cdn.sanity.io/images/301lhh0a/production/9d53f758e2cd0ec4ad3a8b70761bf00f69a8b922-600x337.jpg?w=1200&auto=format&q=75&fit=max)
![[object Object]](https://cdn.sanity.io/images/301lhh0a/production/6119d776bfcda29875eb472adab582755af45384-600x337.jpg?w=1200&auto=format&q=75&fit=max)
Step 2: Remove Box Lid
![[object Object]](https://cdn.sanity.io/images/301lhh0a/production/05b090dde203a3cf857161b2c98b295d211244cd-600x337.jpg?w=1200&auto=format&q=75&fit=max)
Step 3: Remove Upper Pulp Trays
![[object Object]](https://cdn.sanity.io/images/301lhh0a/production/4cdfa8617ed8eb58f74bb11cc98e184a60223717-600x337.jpg?w=1200&auto=format&q=75&fit=max)
Remove both pulp trays from the top, set them aside.
Step 4: Remove Tubes
Next, remove the support tubes from the sides and place with the pulp trays.
![[object Object]](https://cdn.sanity.io/images/301lhh0a/production/da29361e83e633f421bc140983aaf7a032a52278-600x337.jpg?w=1200&auto=format&q=75&fit=max)
Step 5: Open Accessory Box
![[object Object]](https://cdn.sanity.io/images/301lhh0a/production/7d2bc93d0cb99a0d51de6afa0ea1218a41f08d40-600x337.jpg?w=1200&auto=format&q=75&fit=max)
Step 6: Remove Accessories and SNOO Legs
![[object Object]](https://cdn.sanity.io/images/301lhh0a/production/6e8f0ea8e125d23d9eff536ace9265b9bd6bd0d1-600x337.jpg?w=1200&auto=format&q=75&fit=max)
![[object Object]](https://cdn.sanity.io/images/301lhh0a/production/63161c02475d9f2c18759bea2dc36068ad134a79-600x337.jpg?w=1200&auto=format&q=75&fit=max)
![[object Object]](https://cdn.sanity.io/images/301lhh0a/production/17aab026ae31f675b9428b0584b681f18f447b92-600x337.jpg?w=1200&auto=format&q=75&fit=max)
![[object Object]](https://cdn.sanity.io/images/301lhh0a/production/678b4e50ae2b65998793fedcfae7d489c922ad51-600x337.jpg?w=1200&auto=format&q=75&fit=max)
Step 7: Remove Power Supply Box
![[object Object]](https://cdn.sanity.io/images/301lhh0a/production/81bae362b7fe5e2bab6ccfe0608e087e7635f4b5-600x337.jpg?w=1200&auto=format&q=75&fit=max)
Step 8: Remove Accessory Box
![[object Object]](https://cdn.sanity.io/images/301lhh0a/production/f81d9fa767a676c6c73c9594fbd9e2f5304961ed-600x337.jpg?w=1200&auto=format&q=75&fit=max)
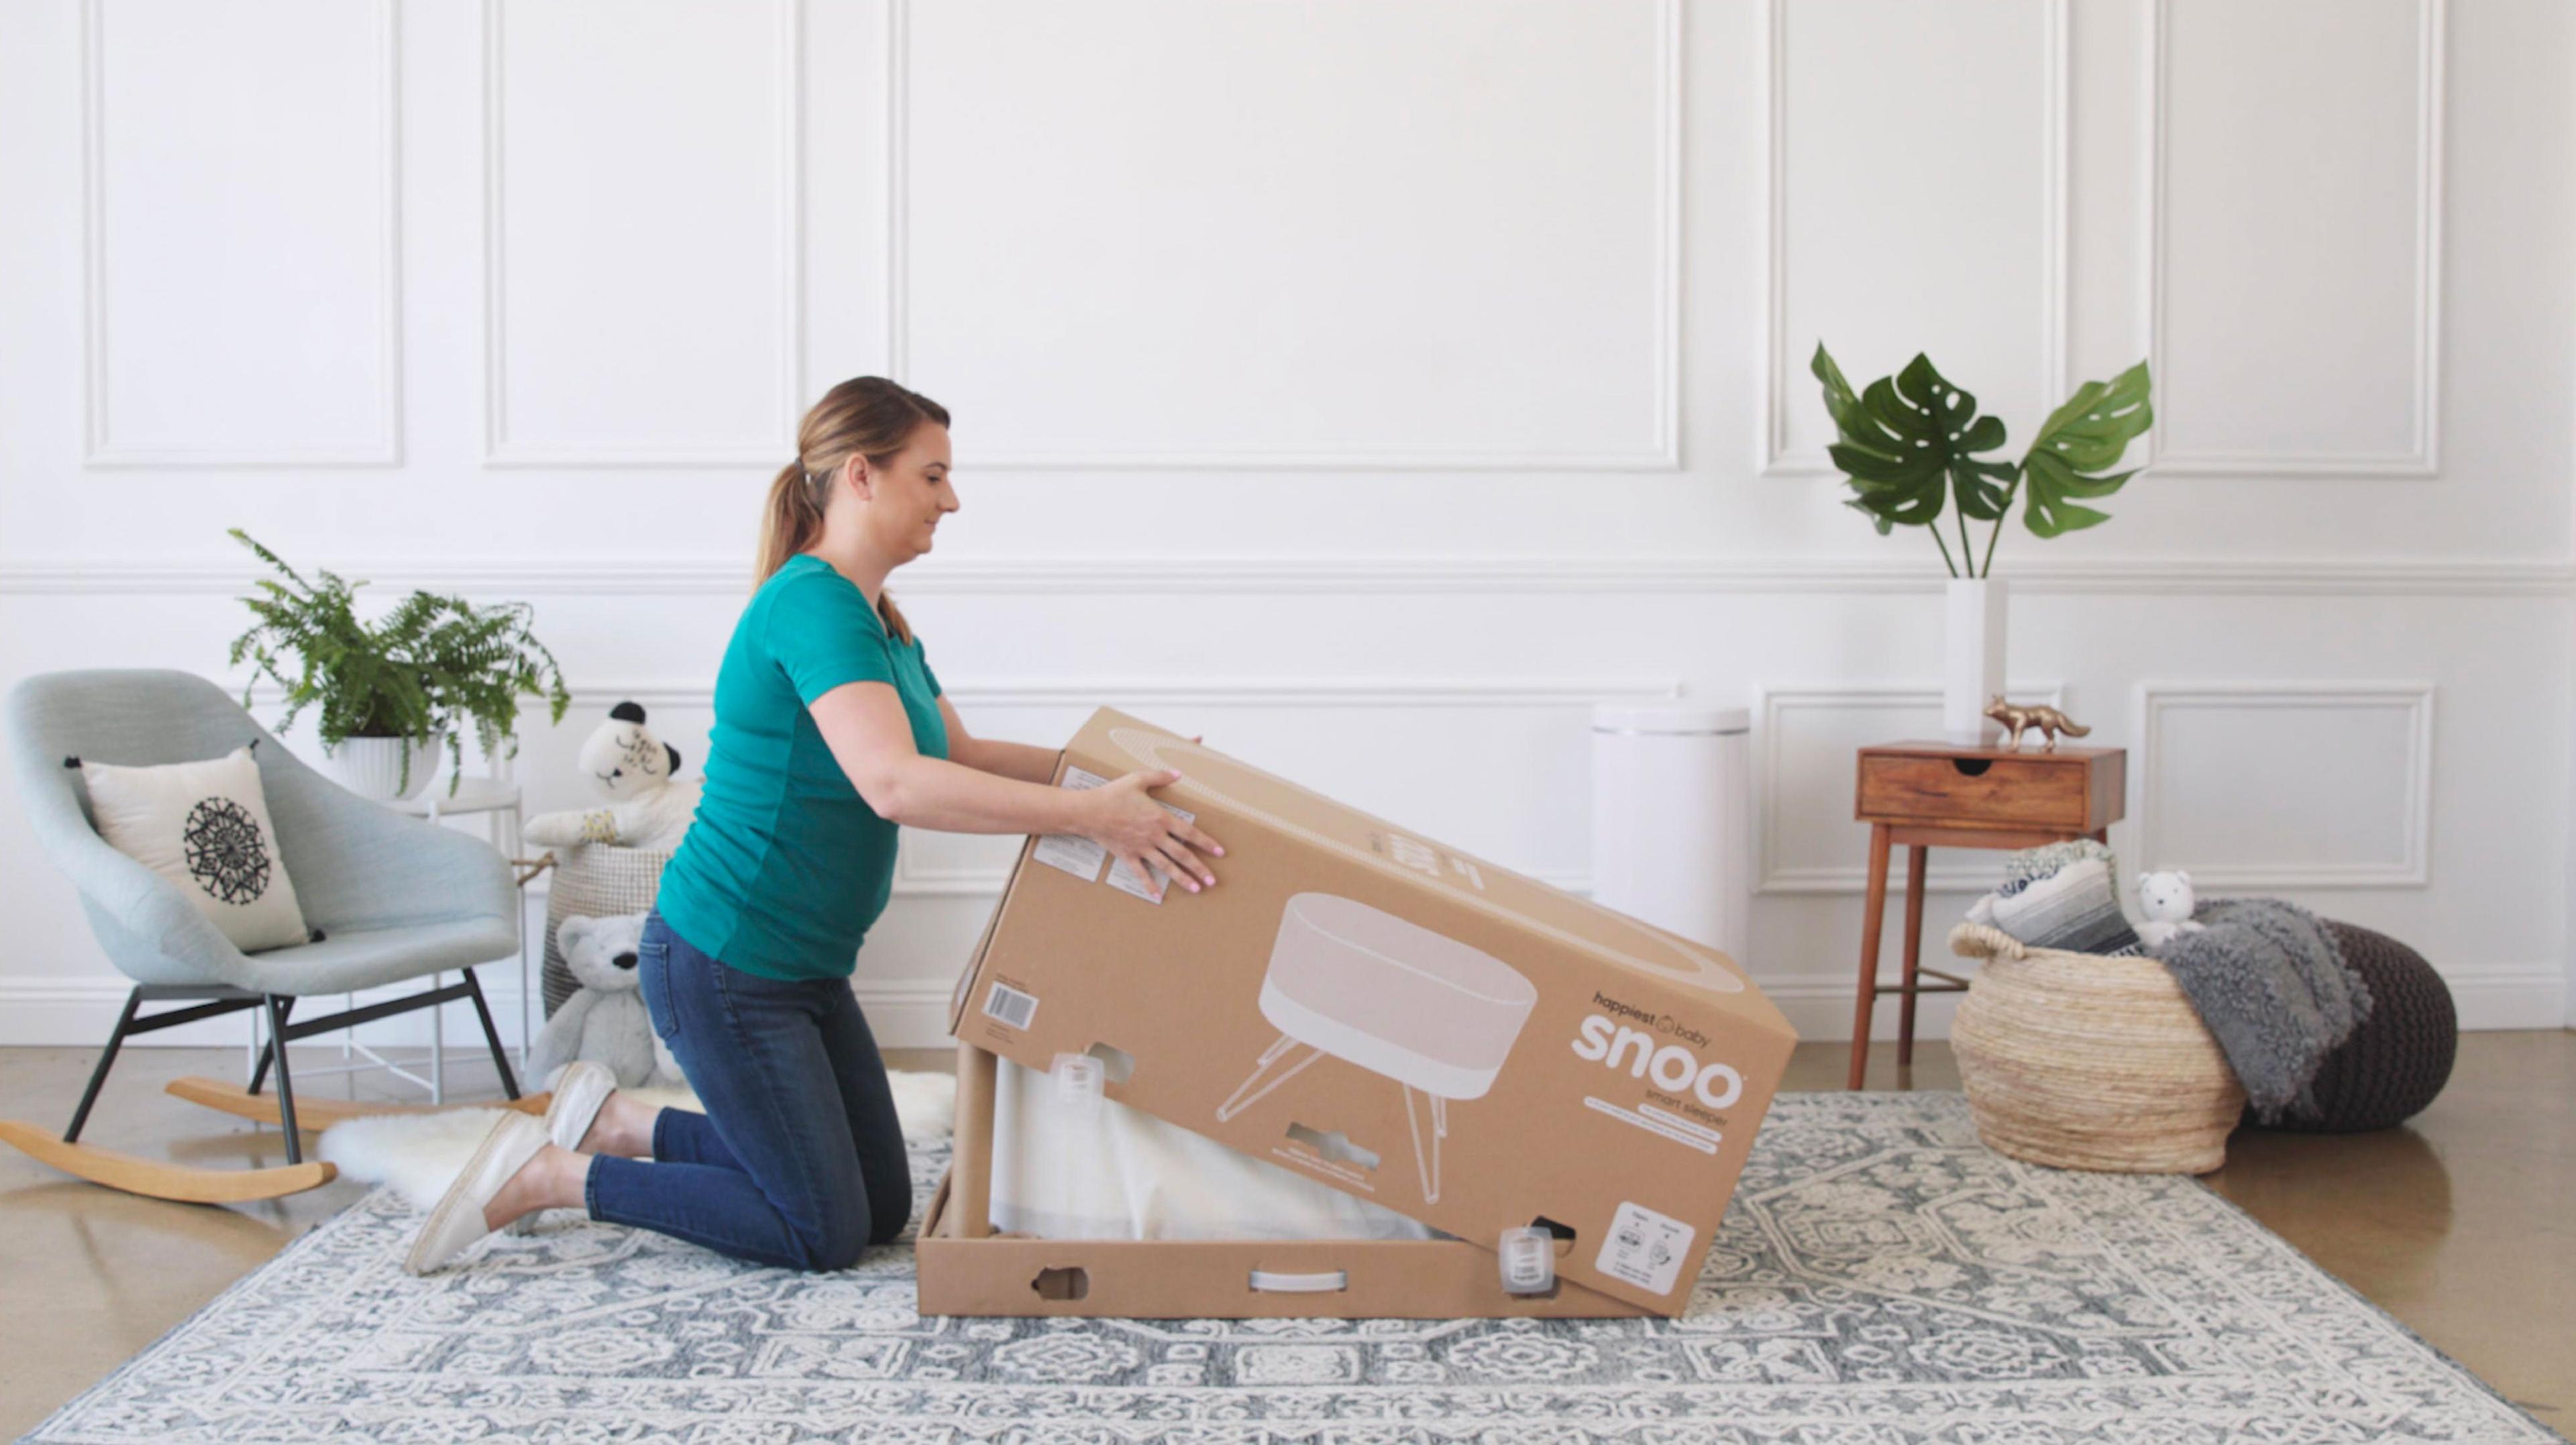
Step 9: Remove SNOO from Carton
Slide the SNOO out of the carton carefully (you may want to ask for assistance during this step to prevent damage). Place the carton out of the way.
![[object Object]](https://cdn.sanity.io/images/301lhh0a/production/77a08efa6f5d472d41940e80592af11b148b40e8-600x337.jpg?w=1200&auto=format&q=75&fit=max)
Step 10: Remove SNOO from Dust Bag
![[object Object]](https://cdn.sanity.io/images/301lhh0a/production/90cbf9637a18f5dcec1a69302cd39f8bf81b93a3-600x337.jpg?w=1200&auto=format&q=75&fit=max)
Now, untie the drawstring of the dust bag, remove it completely from the SNOO and place flat onto the ground.
![[object Object]](https://cdn.sanity.io/images/301lhh0a/production/0ff3f29f4ae65a2354307d7488911d32925d0be1-600x337.jpg?w=1200&auto=format&q=75&fit=max)
![[object Object]](https://cdn.sanity.io/images/301lhh0a/production/66db15e6fbc4d5ca0445943740fca7b28e6fa605-600x337.jpg?w=1200&auto=format&q=75&fit=max)
Step 11: Flip SNOO onto Dust Bag
![[object Object]](https://cdn.sanity.io/images/301lhh0a/production/582b049a8c3649662131fab3f27c87b4b8a83bb9-600x337.jpg?w=1200&auto=format&q=75&fit=max)
Turn SNOO over gently and place it onto the dust bag.
![[object Object]](https://cdn.sanity.io/images/301lhh0a/production/7d3a08275312c416e5a910ec57b978d8096ceb7e-600x337.jpg?w=1200&auto=format&q=75&fit=max)
Step 12: Attach SNOO Legs to SNOO
Now you will need the legs. Locate the identifying colored-arrow on the legs and match them with the corresponding colored-arrow. The arrows should align, push into the slot to secure. Once secured, turn the knobs until you feel resistance. Repeat until all legs are installed.
![[object Object]](https://cdn.sanity.io/images/301lhh0a/production/e7de45f8daaf43a70c4e7292ba849db36f50d9a6-600x337.jpg?w=1200&auto=format&q=75&fit=max)
![[object Object]](https://cdn.sanity.io/images/301lhh0a/production/ef7d8e74b30050ecc6e3c1f2bfee5ee8b2dd8bbf-600x337.jpg?w=1200&auto=format&q=75&fit=max)
![[object Object]](https://cdn.sanity.io/images/301lhh0a/production/59c755f77572d94c3c8b67258d0aa3564d5b7be3-600x337.jpg?w=1200&auto=format&q=75&fit=max)
Step 13: Flip SNOO onto Legs
![[object Object]](https://cdn.sanity.io/images/301lhh0a/production/84deaa69f26f273a328052cc4c6244c47bb9a635-600x337.jpg?w=1200&auto=format&q=75&fit=max)
Step 14: Plug in Power Cord
![[object Object]](https://cdn.sanity.io/images/301lhh0a/production/b793eea83bd73d96359d642ca5af0d10bfe0cce2-600x337.jpg?w=1200&auto=format&q=75&fit=max)
Now, plug the power supply cord into your outlet. Then take the power supply cord and locate the power source in the center of your SNOO. Plug it into the power source.
![[object Object]](https://cdn.sanity.io/images/301lhh0a/production/cd9d6a706b8f7aa255dc3a266c272a02d8e9e435-600x337.jpg?w=1200&auto=format&q=75&fit=max)
Step 15: Attach Power Cord to Cord Holder
First locate the cord holder. Remove it and place it on the leg closest to the outlet that SNOO is plugged in to. Then firmly press the power cord into the groove.
![[object Object]](https://cdn.sanity.io/images/301lhh0a/production/fd5b55808ca28886e32ae96b03d7e46b89d2ad43-600x337.jpg?w=1200&auto=format&q=75&fit=max)
![[object Object]](https://cdn.sanity.io/images/301lhh0a/production/81107c45b1aee6cc04cc4948156102a72da0c79a-600x337.jpg?w=1200&auto=format&q=75&fit=max)
![[object Object]](https://cdn.sanity.io/images/301lhh0a/production/01dcfbf0090c635998a93a73dfd6027563962105-600x337.jpg?w=1200&auto=format&q=75&fit=max)
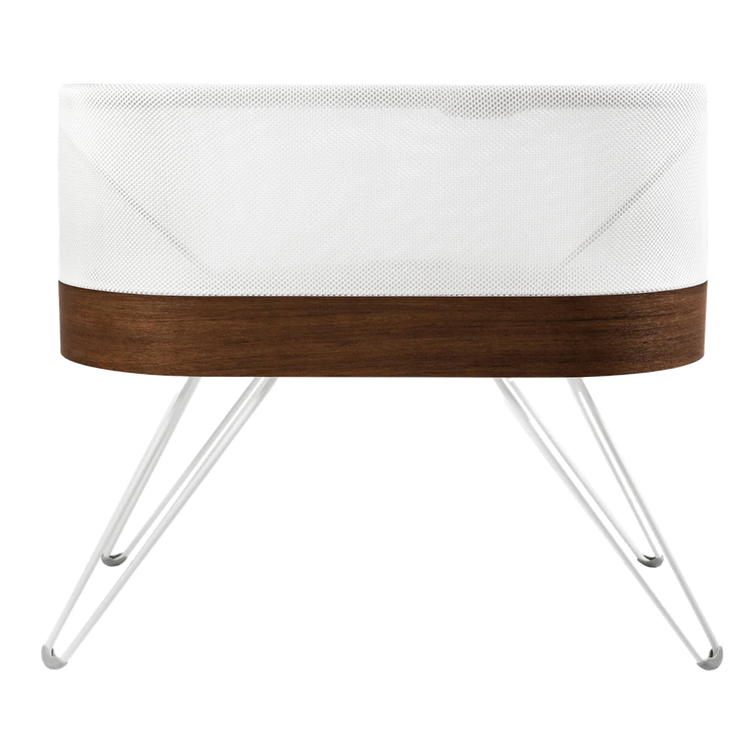
Now yourSNOO is ready for use! Remember to keep your packaging and box if you're renting SNOO so you can ship it back!
Watch the Video: How to Set Up SNOO
Disclaimer: The information on our site is NOT medical advice for any specific person or condition. It is only meant as general information. If you have any medical questions and concerns about your child or yourself, please contact your health provider.


SHARE THIS ARTICLE
MOST LOVED
Sleepytime Sidekicks