BABY
How to Change a Diaper
No diapering experience? No problem! Here’s our step-by-step guide to diapering your baby.

Written by
Happiest Baby Staff

Changing a baby’s diaper doesn’t seem like too difficult of a task, right? Remove diaper, wipe Baby, put new diaper on. Easy-peasy! Except…it’s not. Tiny babies can make big messes…and when you’re a bleary-eyed new parent struggling to change a dirty diaper by a barely-there dim night light, well, things can get complicated. Then when you finally get the hang of changing your newborn’s diaper, the rolling starts. Got that figured out? Welcome to the toddler years, when your tot runs bare-bottomed away from you and their fresh diaper. Worried? Don’t be! Here’s your step-by-step guide on how to change a diaper from the first wee to your bub’s last diaper ever!
Diaper Changing Supplies
Changing a baby’s diaper requires more than simply a baby and a clean diaper. Whether you’re asking yourself how to change a diaper on a newborn or how to change a diaper on an older baby, the supplies are the same:
- Changing pad or changing table
- Diapers
- Diaper covers, diaper pins, and/or fasteners, if needed for cloth diapering
- Alcohol- and fragrance-free baby wipes
- Soft, dry cloth
- Zinc oxide diaper cream or petroleum jelly
- Disposable bag or diaper pail
- Hand sanitizer
- Change of baby clothes for your baby…just in case!
Before you start, make sure all your diapering supplies are all within reach. You can never leave a baby—even a newborn—unattended to retrieve, say, the diaper cream from your bag. Even the littlest babies can surprise you with an out-of-nowhere roll into the diaper pail! (Learn more about how to set up the perfect diaper changing station to suit your needs.)
Step-by-Step Instructions: How to Change a Baby’s Diaper
Supplies are within reach? Check! Your hands are clean? Check! Have a wet or poopy diaper in your sights? Check! This means you are ready to change your baby’s diaper. Here, how to change a diaper, step by step:
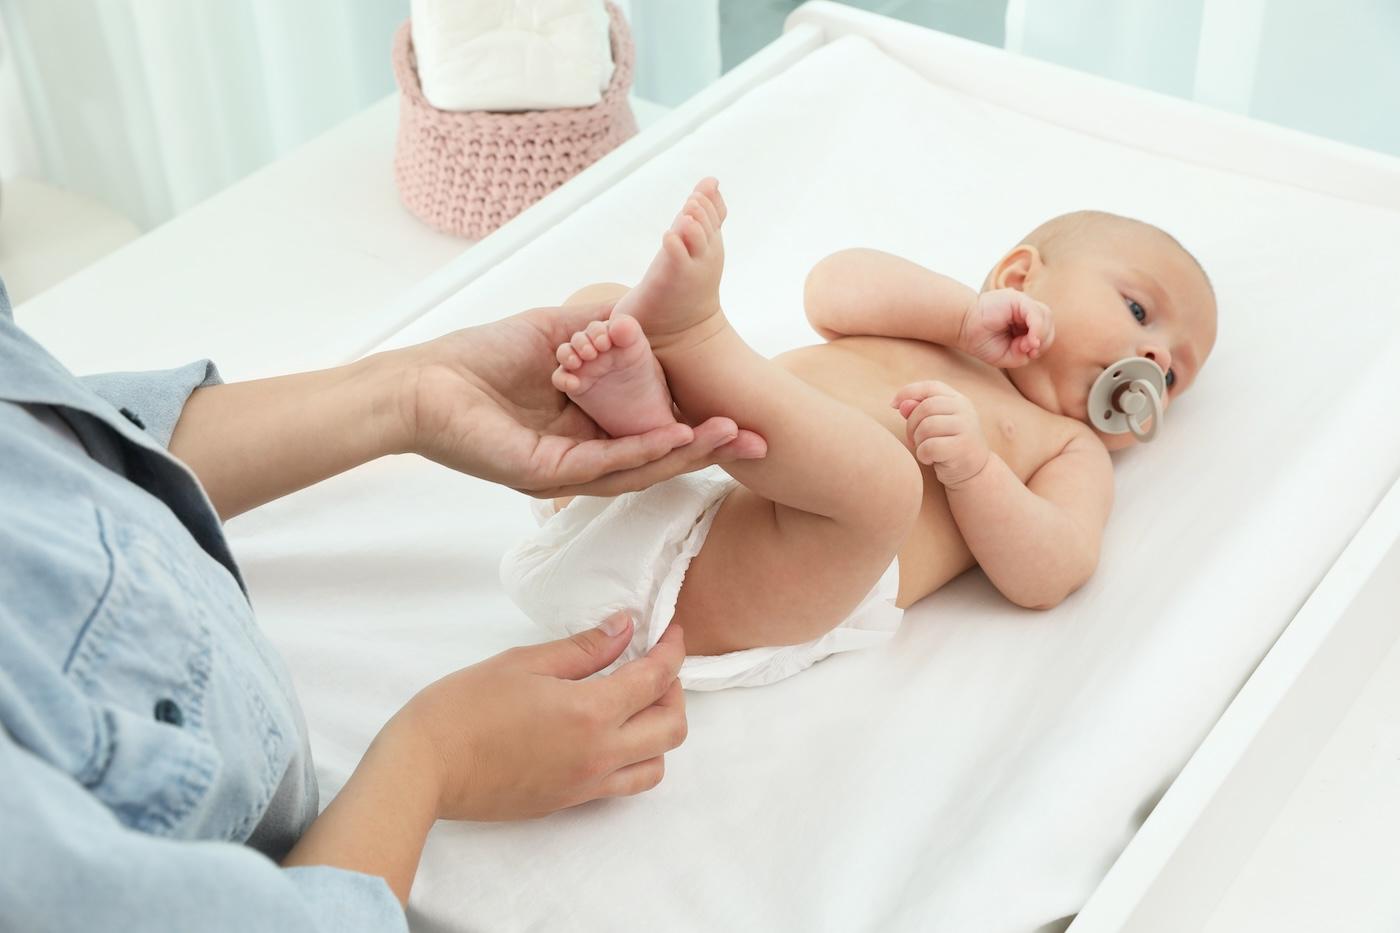
Step 1: Get situated.
Lay your baby on top of their changing pad or changing table, always keeping one hand on your little one. Grab your clean diaper and open it up.
Step 2: Put the diaper in place.
Gently lift your baby’s legs by the ankles with one hand and with the other, slide the opened clean diaper under their still-diapered bum. (The part of the diaper with the adhesive tabs should be underneath your baby with the tabs level with your bub’s belly button.)
Step 3: Take off the dirty diaper.
Unfasten the dirty diaper…but be warned: When some babies’ diaper area is exposed to cool air, they pee! Try to keep your baby as covered as possible during changes and—if you are changing a baby boy—you can place a tissue or baby wipe over your baby’s penis to keep the spray contained.
As you remove the dirty diaper, consider using the inner front of the used diaper to do a cursory wipe of your baby’s dirty bottom then fold the dirty diaper over on itself. (This can lead to using fewer baby wipes and keeping the new diaper clean.)
If the new folded old diaper isn’t super messy, keep it under your baby’s bum. This’ll help keep your little one’s dirty bits from soiling the fresh diaper. And it can absorb any new pee that may arrive.
Step 4: Clean the baby.
If you’re changing a poopy diaper, thoroughly wipe your baby’s diaper area from front to back with a baby wipe. If you’re changing a pee-pee diaper, using wipes is entirely up to you, notes the American Academy of Pediatrics. Modern disposable diapers do an excellent job of minimizing the amount of urine that touches Baby’s delicate skin. If the baby wipe has left your bub’s skin damp, use a clean, dry cloth to pat their skin dry. (If you need to scrap your baby’s outfit thanks to a diaper blow out, learn how to change their clothes without making a mess!)
Step 5: Toss dirty items in trash.
Toss your baby’s dirty diaper and the dirty wipes into your diaper pail, trash can, or disposable bag.
Step 6: Apply diaper cream.
Using your fingers, apply a thick layer of diaper cream to rash-prone areas of your baby’s bottom to either treat—or help prevent—diaper rash. Dr. Harvey Karp recommends using a barrier cream with zinc oxide and/or petroleum jelly. (If an earlier application of diaper cream is lingering on your baby’s bum, it’s okay to add another layer on top of it.)
Step 7: Put on a fresh diaper.
Ensure the front of your baby’s diaper is centered between their legs and that the adhesive tabs are underneath your baby and level with their navel. (If you’re changing a boy’s diaper, be sure to point their penis down before securing the diaper! This’ll help ensure that pee lands in the most absorbent part of the diaper.) Open the diaper tabs and snugly secure them around to the front of the diaper. At the same time, check the leg holes of the diaper, making sure the elastic edges aren’t tucked in.
How to Change a Cloth Diaper
Changing a cloth diaper is almost entirely the same process as changing a disposable diaper: Slide the clean diaper under your baby, remove the dirty diaper, wipe your baby’s bum, and apply diaper cream. Here are the differences:
- Grab the disposable insert. Some cloth diapers are designed to be used with an absorbent cloth or disposable insert. If that’s your diaper style, you’ll need to place one into the pocket before you get diapering.
- Fasten the diaper. Instead of adhesive tabs, cloth diapers will feature snaps, Velcro, or diaper pins.
- Use an outer cover. Some cloth diapers require a waterproof outer layer that goes over an absorbent cloth diaper. That gets fastened with tabs or snaps. You can often reuse the diaper cover your baby was just in after a quick wipe down. (Be sure the under-diaper isn’t poking through!)
- Dispose of the mess. Slide as much poo into the toilet as possible and flush. Some folks rinse or spray the diaper before tossing it into a diaper pail.
How to Change a Toddler’s Diaper
Some toddlers continue to be cooperative and nicely lay on their changing table, allowing you to do the dirty work with ease…but others are just not into staying still! If you’ve got an on-the-go toddler dodging diaper changes, here’s how you can work together to get the job done.
Ditch the changing table.
At some point, hoisting your growing toddler to the changing table becomes hard for you…and dangerous for your squirmy bug! Instead, start changing your toddler’s diapers on the floor. Simply take the changing mat off the table and bring it to where you kiddo is. (Or simply use a travel changing mat—which you likely have stored in your diaper bag.)
Be ready with distractions.
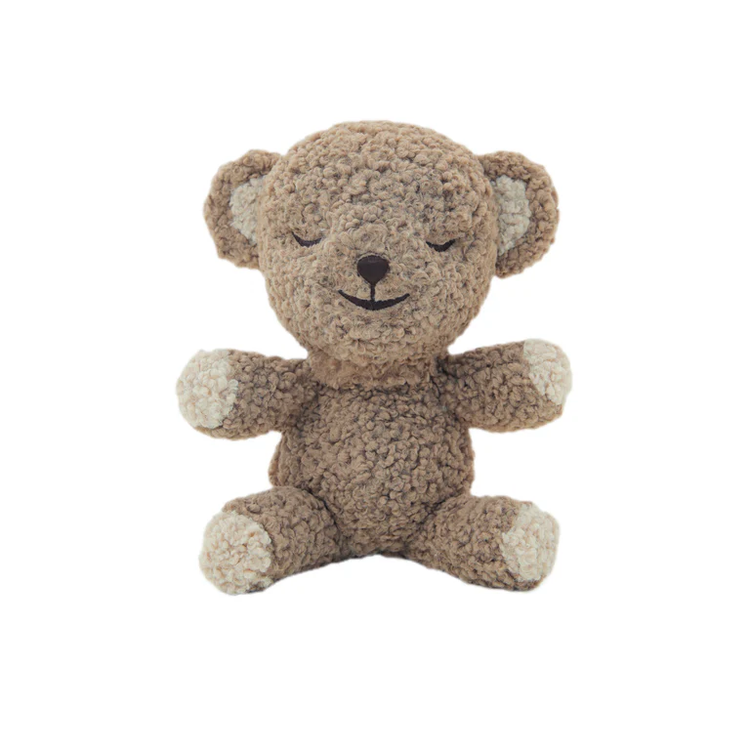
Keep a stash of easy-to-handle toys near your changing station, like a toddler telephone, a crinkly book, or plastic keys. At the same time, playing some white noise or a lullaby, or singing a song can be the perfect stay-still ticket, too. (Try SNOObear, the white noise lovey, for a double duty distraction.)
Stand and deliver!
Toddlers love to move, move, move…so a nice in-the-middle solution for toddlers who are unwilling to lay down for a diaper change is allowing them to stand. Just make sure they have something sturdy to hold onto while you get the diaper on and off. (Instruct you toddler to squat or lift a leg to help get a thorough clean…or simply do standing diaper changes for wet diaper only.)
Offer choices.
Toddlers, like anyone else, want to feel like they have some say in a situation. So, help them out by having them make some key diapering decisions. Ask you tot questions, like, “Do you want to get a new diaper standing or lying down?,” “Would you like a diaper change now or after two more minus of blocks?,” “Do you want to grab a new diaper or the wipes?” (Toddlers love feeling helpful!)
Consider diapering backwards for little escape artists.
Got a toddler who’s adept at ripping their diaper off the minute you close it shut? Try putting the diaper on backwards (with the adhesive tabs on the back). This will make it harder for your tot to go into streaker mode.
Offer a reward
If changing diapers is a daily struggle, take out a little reward, like a special cookie right before you're about to change their diaper. Offer half when you start the change—and half in the middle. Usually, within days, the struggle will diminish. A few days later, start withholding the second piece until after the diaper change is complete. After another week, you can reduce the reward to just a half-cookie when you’re done. Eventually, you won’t need the cookie any longer. In addition to giving the sweet treat, reward your tot's cooperation with some cheery praise and a minute or two of play right after the diaper change. Your loving time-ins will be the top reward for you bub long after the cookie tactics are phased out and forgotten.
How to Change a Diaper On the Go
Diaper changes can happen anywhere: In the car, in a public bathroom, at the beach…you name it. To be fully prepared, make sure your diaper bag is always fully stocked. (Learn how to pack the ultimate diaper bag.) And keep these in-a-pinch changing areas in mind when a changing station is nowhere to be found:
- Biggest stall in the restroom
- Large sink vanity
- Storeroom (ask a store or restaurant manager)
- Back seat or trunk of your car
- Changing/dressing room
- Reclined stroller
- Grassy area outside
How Often to Change a Diaper
To avoid diaper rash, Dr. Harvey Karp recommends changing your baby’s diaper every two to three hours or so—and whenever you notice your little one has a poopy diaper. The reason? Baby poop is especially acidic—especially during Baby’s first few weeks. And when pee sits too long in your little one’s diaper, it can turn into ammonia, which is super irritating.
More on Baby Care:
- How Many Diapers Does a Baby Use?
- Keeping Baby’s Smile Healthy
- How to Trim Your Baby’s Nails
- Bathing Baby 101
Disclaimer: The information on our site is NOT medical advice for any specific person or condition. It is only meant as general information. If you have any medical questions and concerns about your child or yourself, please contact your health provider.


SHARE THIS ARTICLE
MOST LOVED
Sleepytime Sidekicks