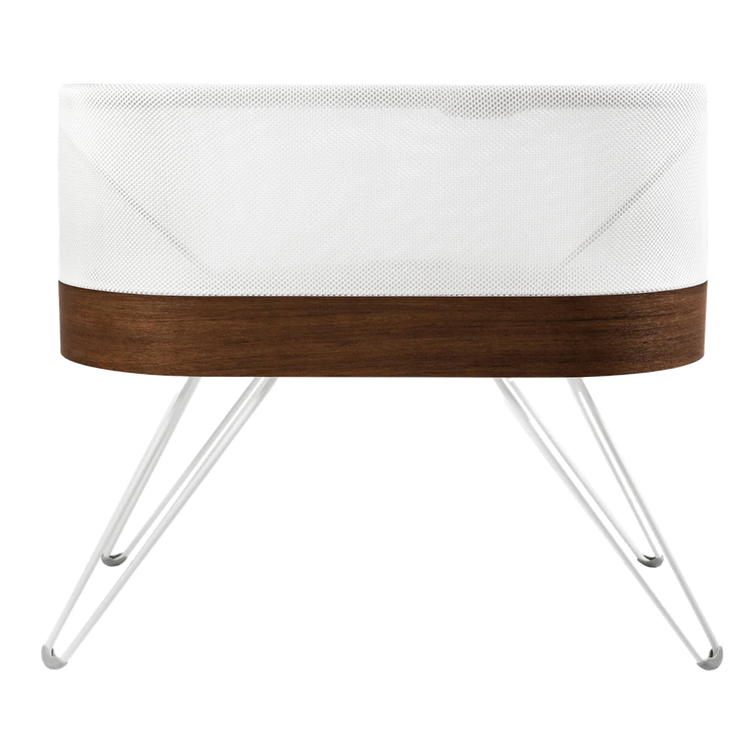
SNOO
How to Store SNOO Packaging
Step-by-step instructions for how to break down and store your SNOO box. Remember to keep your packaging when renting SNOO, so you can ship it back!

Written by
Happiest Baby Staff
We’re showing you how to break down and store your Happiest Baby SNOO Smart Sleeper box.
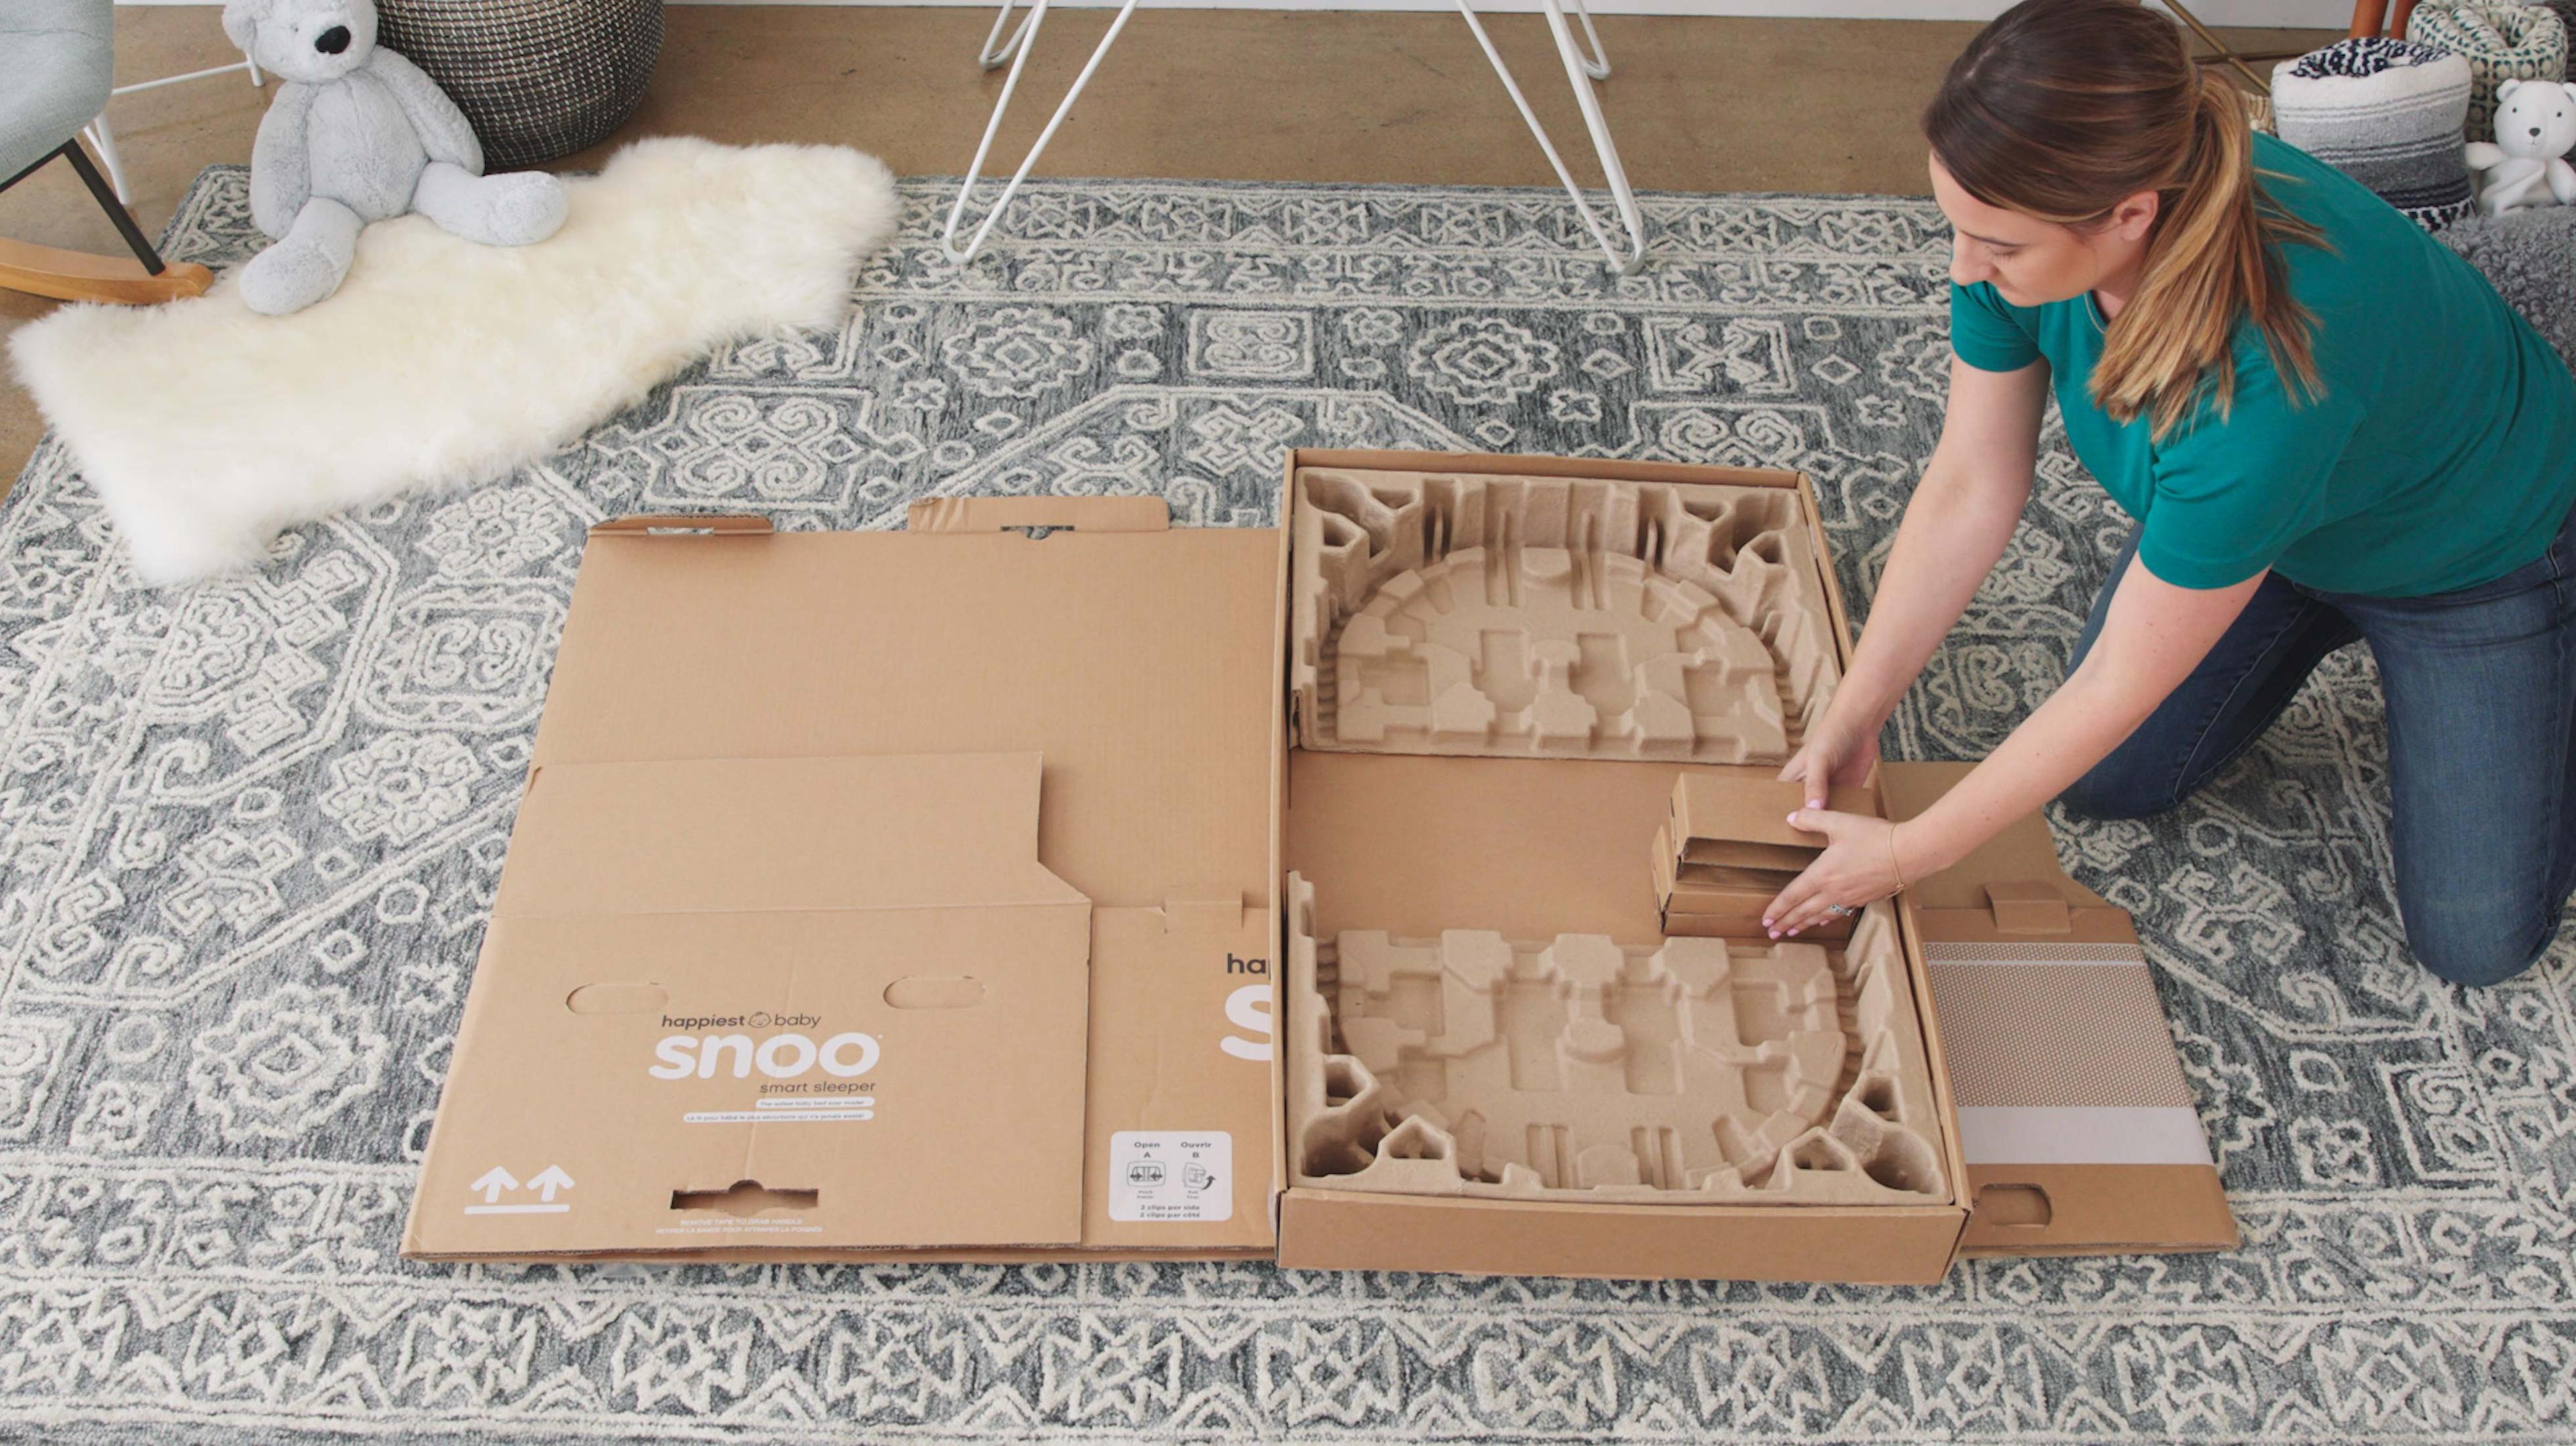
Step 1: Breakdown Outer Box
![[object Object]](https://cdn.sanity.io/images/301lhh0a/production/bea944b4d764947d143a07bbe1df65ebd65006bc-600x337.jpg?w=1200&auto=format&q=75&fit=max)
First, carefully cut the tape on the outer box.
![[object Object]](https://cdn.sanity.io/images/301lhh0a/production/cabdd76d20c81fd4a013689c978d8d7f43f776b6-600x337.jpg?w=1200&auto=format&q=75&fit=max)
Then unfold all of the flaps and collapse the box and place it flat on the floor.
![[object Object]](https://cdn.sanity.io/images/301lhh0a/production/3128e5e3954629dba4f909a22414a124bd574254-600x337.jpg?w=1200&auto=format&q=75&fit=max)
Step 2: Stack Your Trays on the Outer Box
Next, stack the base pulp trays into the base tray, then place it onto your flat carton.
![[object Object]](https://cdn.sanity.io/images/301lhh0a/production/e78fc62238d4c2d0a41b0655bb2d2b9df1b06cfa-600x337.jpg?w=1200&auto=format&q=75&fit=max)
Step 3: Place Accessory Packaging into Tray
![[object Object]](https://cdn.sanity.io/images/301lhh0a/production/46e77b77405f40d1cd0b1f5a90763b413897c138-600x337.jpg?w=1200&auto=format&q=75&fit=max)
Place the leg packaging into the tray.
![[object Object]](https://cdn.sanity.io/images/301lhh0a/production/e700dcb28ee0b5e7256ed6418be09fb95b211615-600x337.jpg?w=1200&auto=format&q=75&fit=max)
Then place the power supply box into the tray.
![[object Object]](https://cdn.sanity.io/images/301lhh0a/production/02bb1b7044e11feee6208797a26458f483a092d1-600x337.jpg?w=1200&auto=format&q=75&fit=max)
Fold the dust bag and place it into the tray.
![[object Object]](https://cdn.sanity.io/images/301lhh0a/production/fc5f05c59be082b3bef76e007e2d6a7d558b8d92-600x337.jpg?w=1200&auto=format&q=75&fit=max)
Then place the tubes in the tray.
![[object Object]](https://cdn.sanity.io/images/301lhh0a/production/fb443165c6412505a0c3a23dc6d02353db99baac-600x337.jpg?w=1200&auto=format&q=75&fit=max)
Finally, put the upper pulp trays on top of the base pulp trays.
![[object Object]](https://cdn.sanity.io/images/301lhh0a/production/3f0499207199ea518118162f544b4b3e49b5d405-600x337.jpg?w=1200&auto=format&q=75&fit=max)
Step 4: Place Accessory Box on the Other Side of Box
![[object Object]](https://cdn.sanity.io/images/301lhh0a/production/fdbeb2254bd374ec292d39477797f4953eaa8f6c-600x337.jpg?w=1200&auto=format&q=75&fit=max)
Step 5: Store Everything
![[object Object]](https://cdn.sanity.io/images/301lhh0a/production/a56d8a55f3dc1d3e2bb3ff2f6023bef3bf4322be-600x337.jpg?w=1200&auto=format&q=75&fit=max)
And, you're done! Now, store this in a safe dry place like under a bed or in a storage closet.
Watch the Video: How to Store SNOO Packaging
Disclaimer: The information on our site is NOT medical advice for any specific person or condition. It is only meant as general information. If you have any medical questions and concerns about your child or yourself, please contact your health provider.


SHARE THIS ARTICLE
MOST LOVED
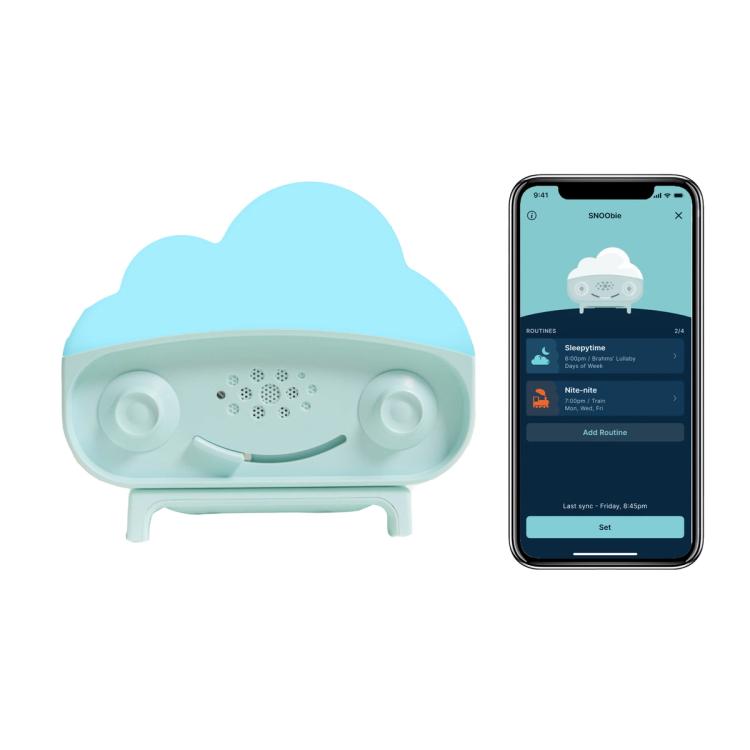
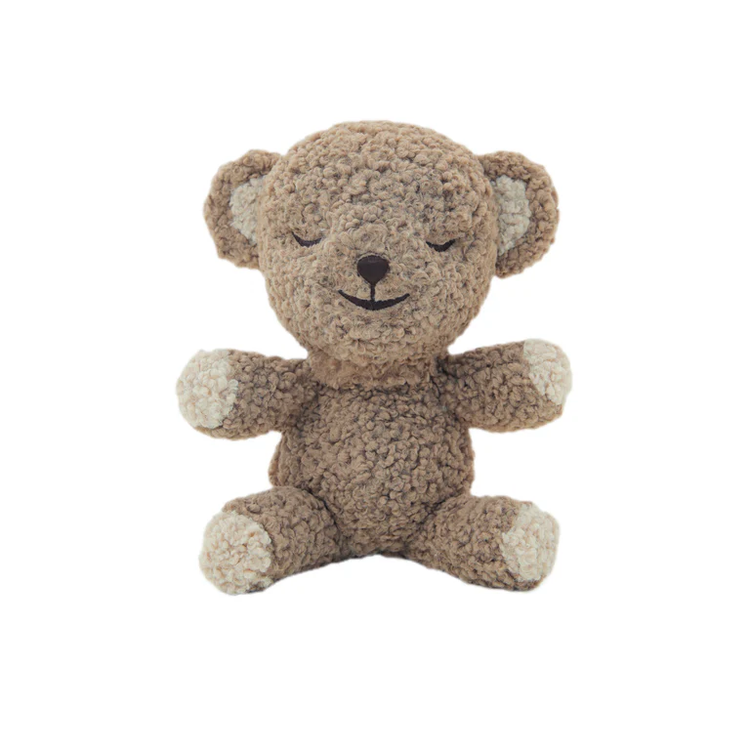
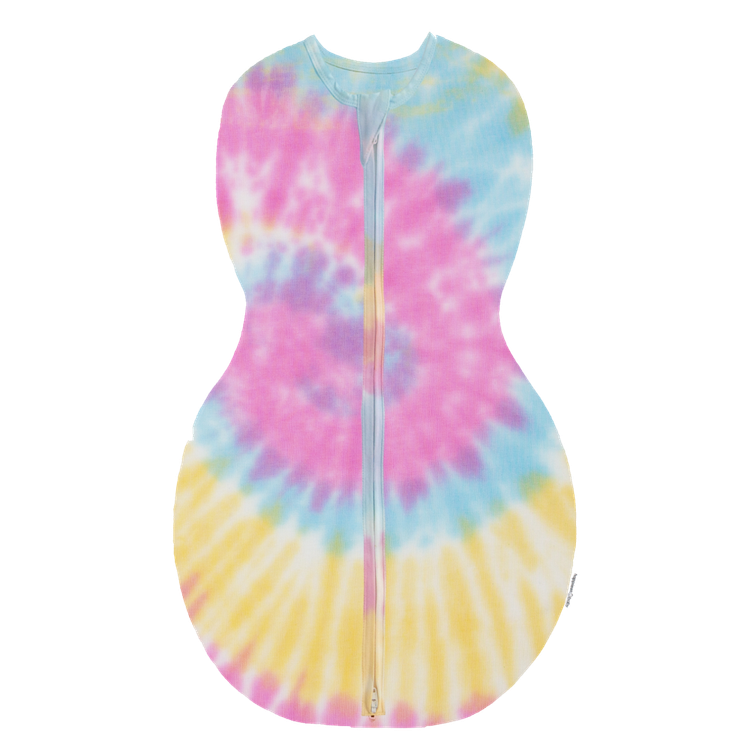
Sleepytime Sidekicks