TODDLER
Spark Your Tot's Imagination With a Toy Rotation
Here’s how to pull it off (and put it all away!)

Written by
Jenny Studenroth Gerson
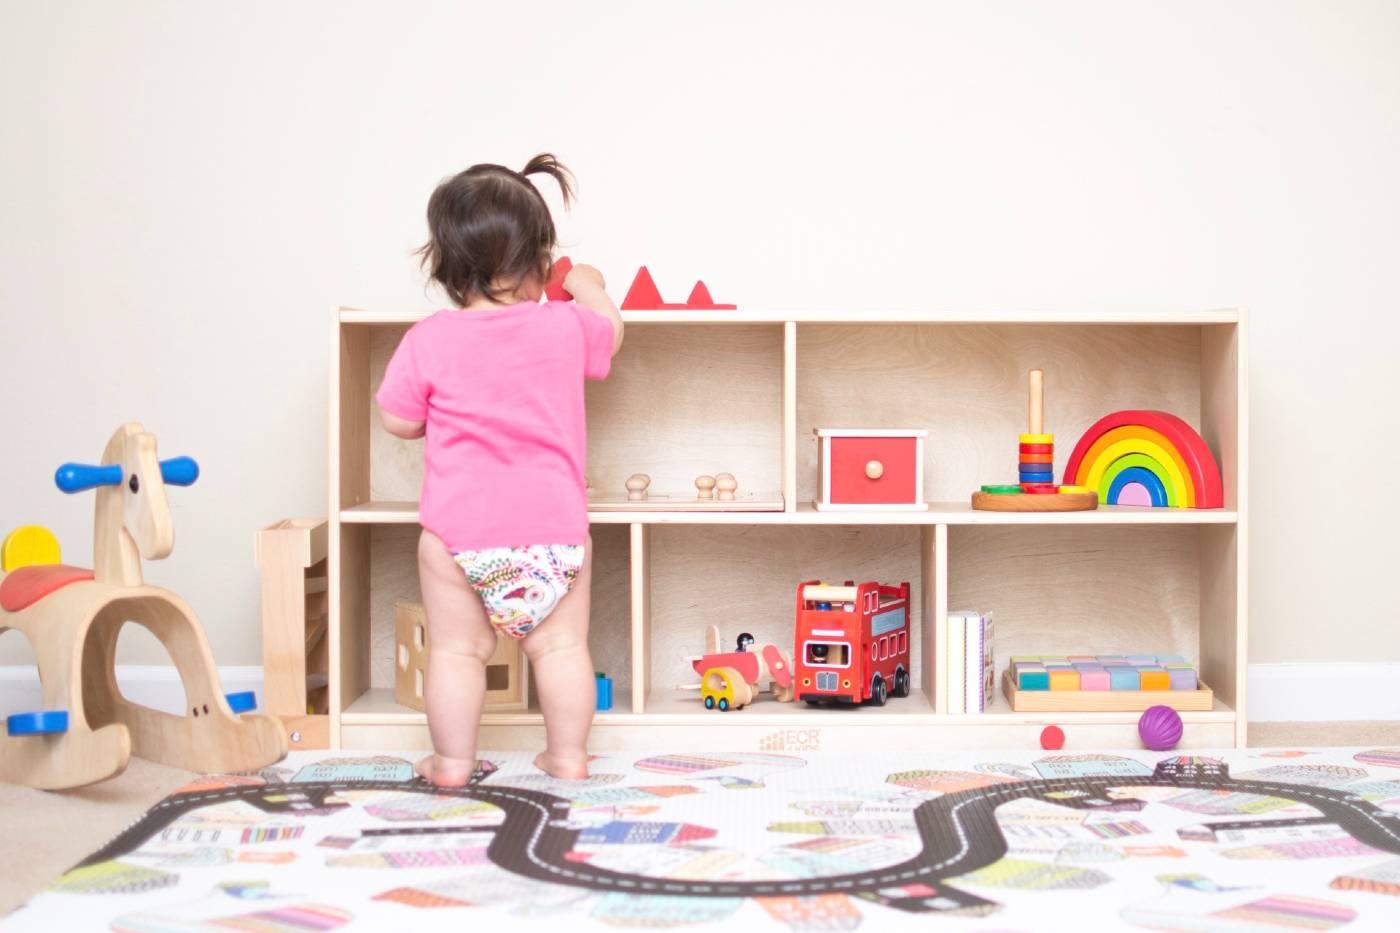
Parents of the world, let’s take a collective inhale through the nose. Exhale through the mouth. Feel better yet? Chances are you won’t... not until some of the miscellaneous plastic that greets you underfoot each morning is up and away. Let’s face it: Kids have a lot of stuff. And while you’ve invested in these toys, and many are thoughtful and useful gifts from family and friends, most of us simply do not have the space to keep every. Single. Thing. Out... at all times!
What’s more, it’s not great for them either. Studies show that being surrounded by too many toys at once can overwhelm kids and (counterintuitively) leads to more boredom and less fulfillment. It also makes it hard for kids to concentrate on—and, in turn—enjoy any specific item. We’re not telling you to stop buying toys for your kiddos, or even to take away most of what they’ve got… but, creating a toy rotation is a happy compromise.
What is a toy rotation?
Basically, you’ll be keeping only a third to a half of their belongings out in the play areas at any given time while storing the rest. Then, you’ll swap biweekly, seasonally, or on whatever timetable works for your family. This organization method keeps their collection feeling new and exciting; helps you manage the chaos and clutter throughout the home; and leaves children feeling less overwhelmed and likelier to explore their imagination at playtime.
How to set up a toy rotation:
Start with a top edit.
The key to any successful organizing venture is to first throw out what no longer serves you. It’s best to get the kids out of the house or at least situated in another room before doing this, lest every random pipe cleaner and broken toy part will be whined over. Tackle their playroom or bedrooms in two initial stages: trash first, decisions second.
The first step of your toy rotation top edit entails tossing anything that is actual trash. This means food wrappers, broken or damaged items that are not salvageable, random Band-Aids they’ve opened and tossed in a bin… you get the idea. Once the literal garbage is out, start your second step which is to pull out and pack up anything your children have developmentally outgrown, are not sentimental about, and still functions—these items should be donated.
Divide, then conquer.
Once the trash and donations are out of the room, the next phase of creating your toy rotation system is about organizing everything they play with by like and kind. Create your categories custom to what your children use: Dolls, stuffed animals, board games & puzzles, cars, play kitchen food & utensils, etc.
After everything is grouped with its similar or associated toys, decision time begins. It’s up to you whether to split the items in half or in thirds: this will depend on how often you plan to rotate the toys and how much volume you want and can handle being out at a given time.
Break out the bins.
This is probably the easiest part. Store your remaining toys to be cycled back in. If you have halved everything and are doing one big rotation, it is simplest to box them up according to their type. If you’re dividing further to rotate one third in at a time, just toss everything for the next rotation together, and everything for the rotation after that together. We are thinking simplify here, parents! Keep it easy so you won’t dread this project every time you go to switch things out.
Create stations.
This is the fun part! Now that your playroom or child’s bedroom is relieved of half or more of what’s usually present, you can see everything more clearly and each toy will have a happy home. Set up the space in a way that’s natural and fluid, but easy for your kids to manage without much assistance. Play kitchen accessories and food should be in or near the kitchen; all stuffed animals and dolls should be in one place; set up small open containers for things like cars and Legos, keeping each one stocked with only that one item type.
Once you’ve arranged what’s staying, stand back, and admire how streamlined the play space looks with one-half- to two-thirds less stuff in it. Your child is likely to be so busy enjoying their toys now that everything is visible and organized, they’re not going to moan about some random item that’s been packed away. (That said, any “lovey” item that gets slept with, or an absolute favorite doll or train, for example, should stay year-round).
Mark the calendar.
Keep yourself on track and your kids thriving by setting up an easy system to rotate and re-box the toys and games. Most parents like to do so fairly often to make sure that developmental toys get used, (and are seen and tossed when their time is up), but this is up to you. An easy way to start is to swap the toys out on the first of every month. That way you will be reminded every time the calendar jumps ahead, that it’s time for the toys to, too.
If this is too frequent and will add to your parental stress, consider doing it every other month, or at every equinox or solstice. Each time you rotate provides a moment to reflect on what was really used and played with in the most recent period, so you’ll be able to offload more things with frequency and conviction once the system is up and running. You and your children are going to enjoy playtime and cleanup time so much more now! Keep it up to ensure hours of daily fun and an overall calmer and clutter-free home.
More Cleaning and Organizing Tips:
- How to Clean a Nursery
- Closet Organizing Tips
- Clutter-Cutting Nursery Storage Solutions
- Genius Car Organizing Hacks
- How to Fold and Store Baby Clothes
Disclaimer: The information on our site is NOT medical advice for any specific person or condition. It is only meant as general information. If you have any medical questions and concerns about your child or yourself, please contact your health provider.
SHARE THIS ARTICLE
MOST LOVED
Sleepytime Sidekicks
